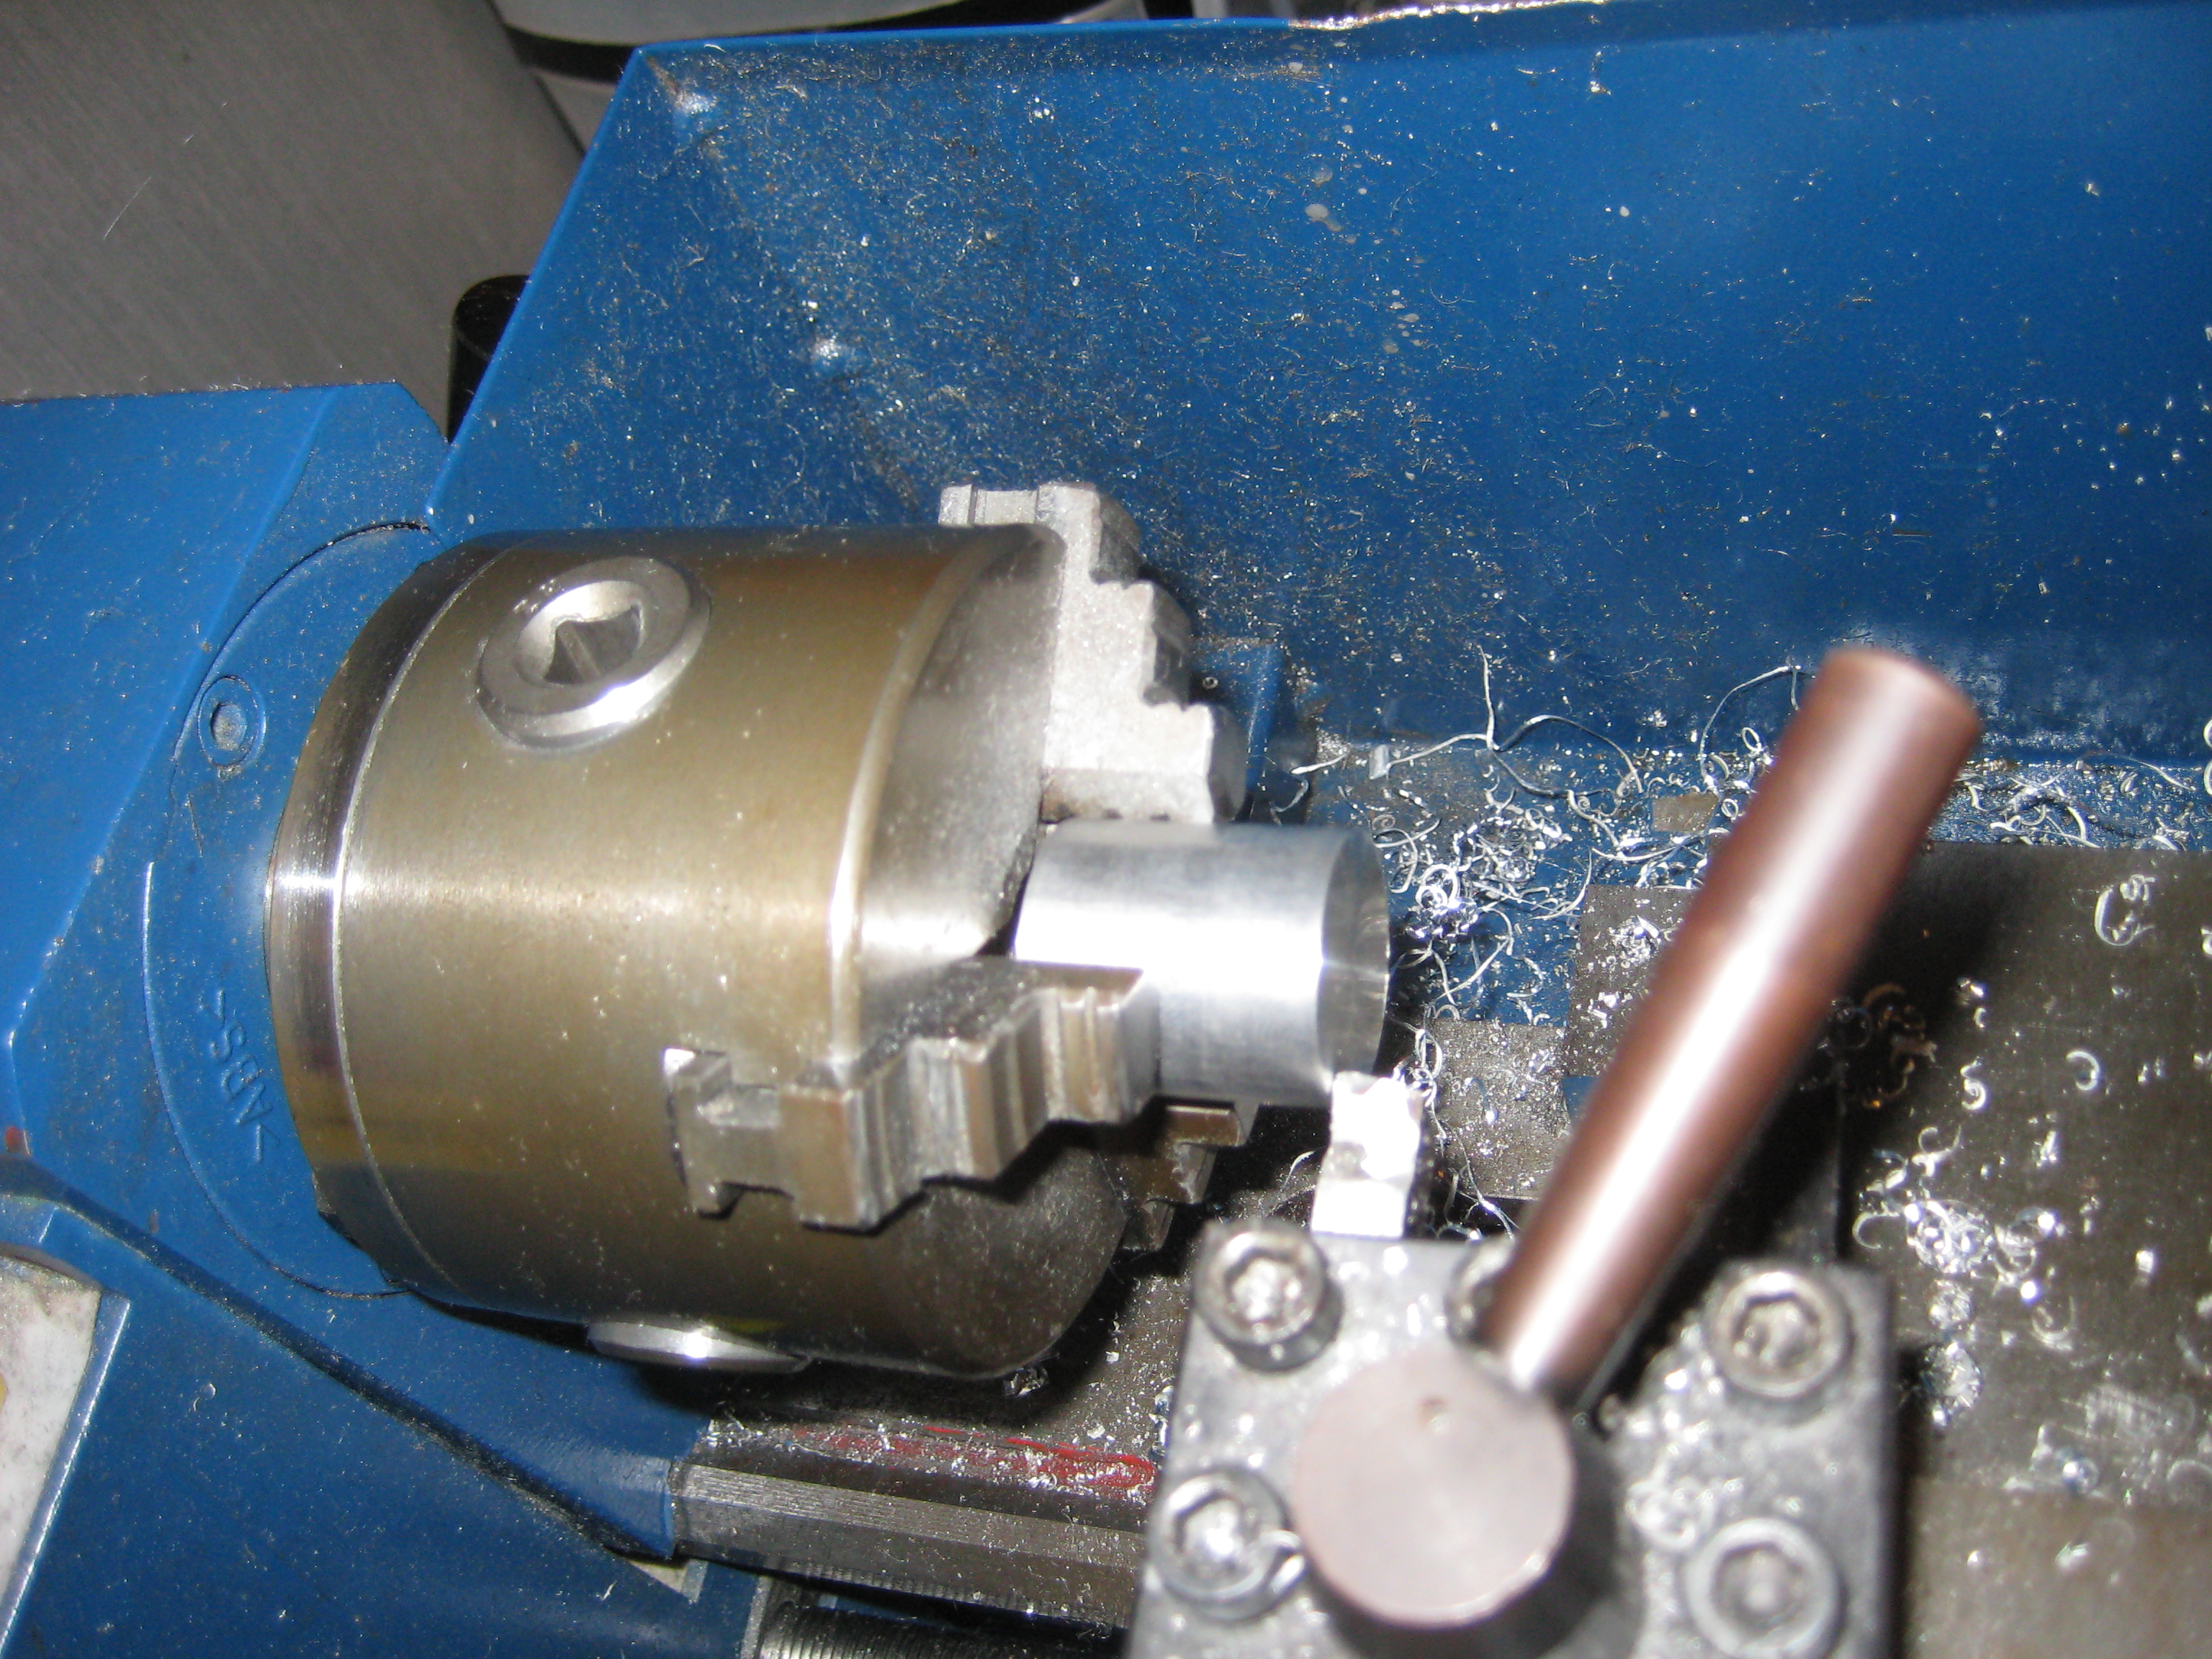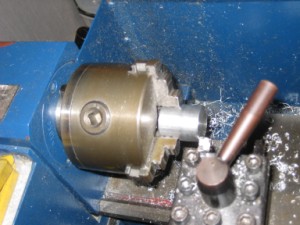
Above is the aluminum being faced. This just makes it perfectly square
and gives a nice working surface.

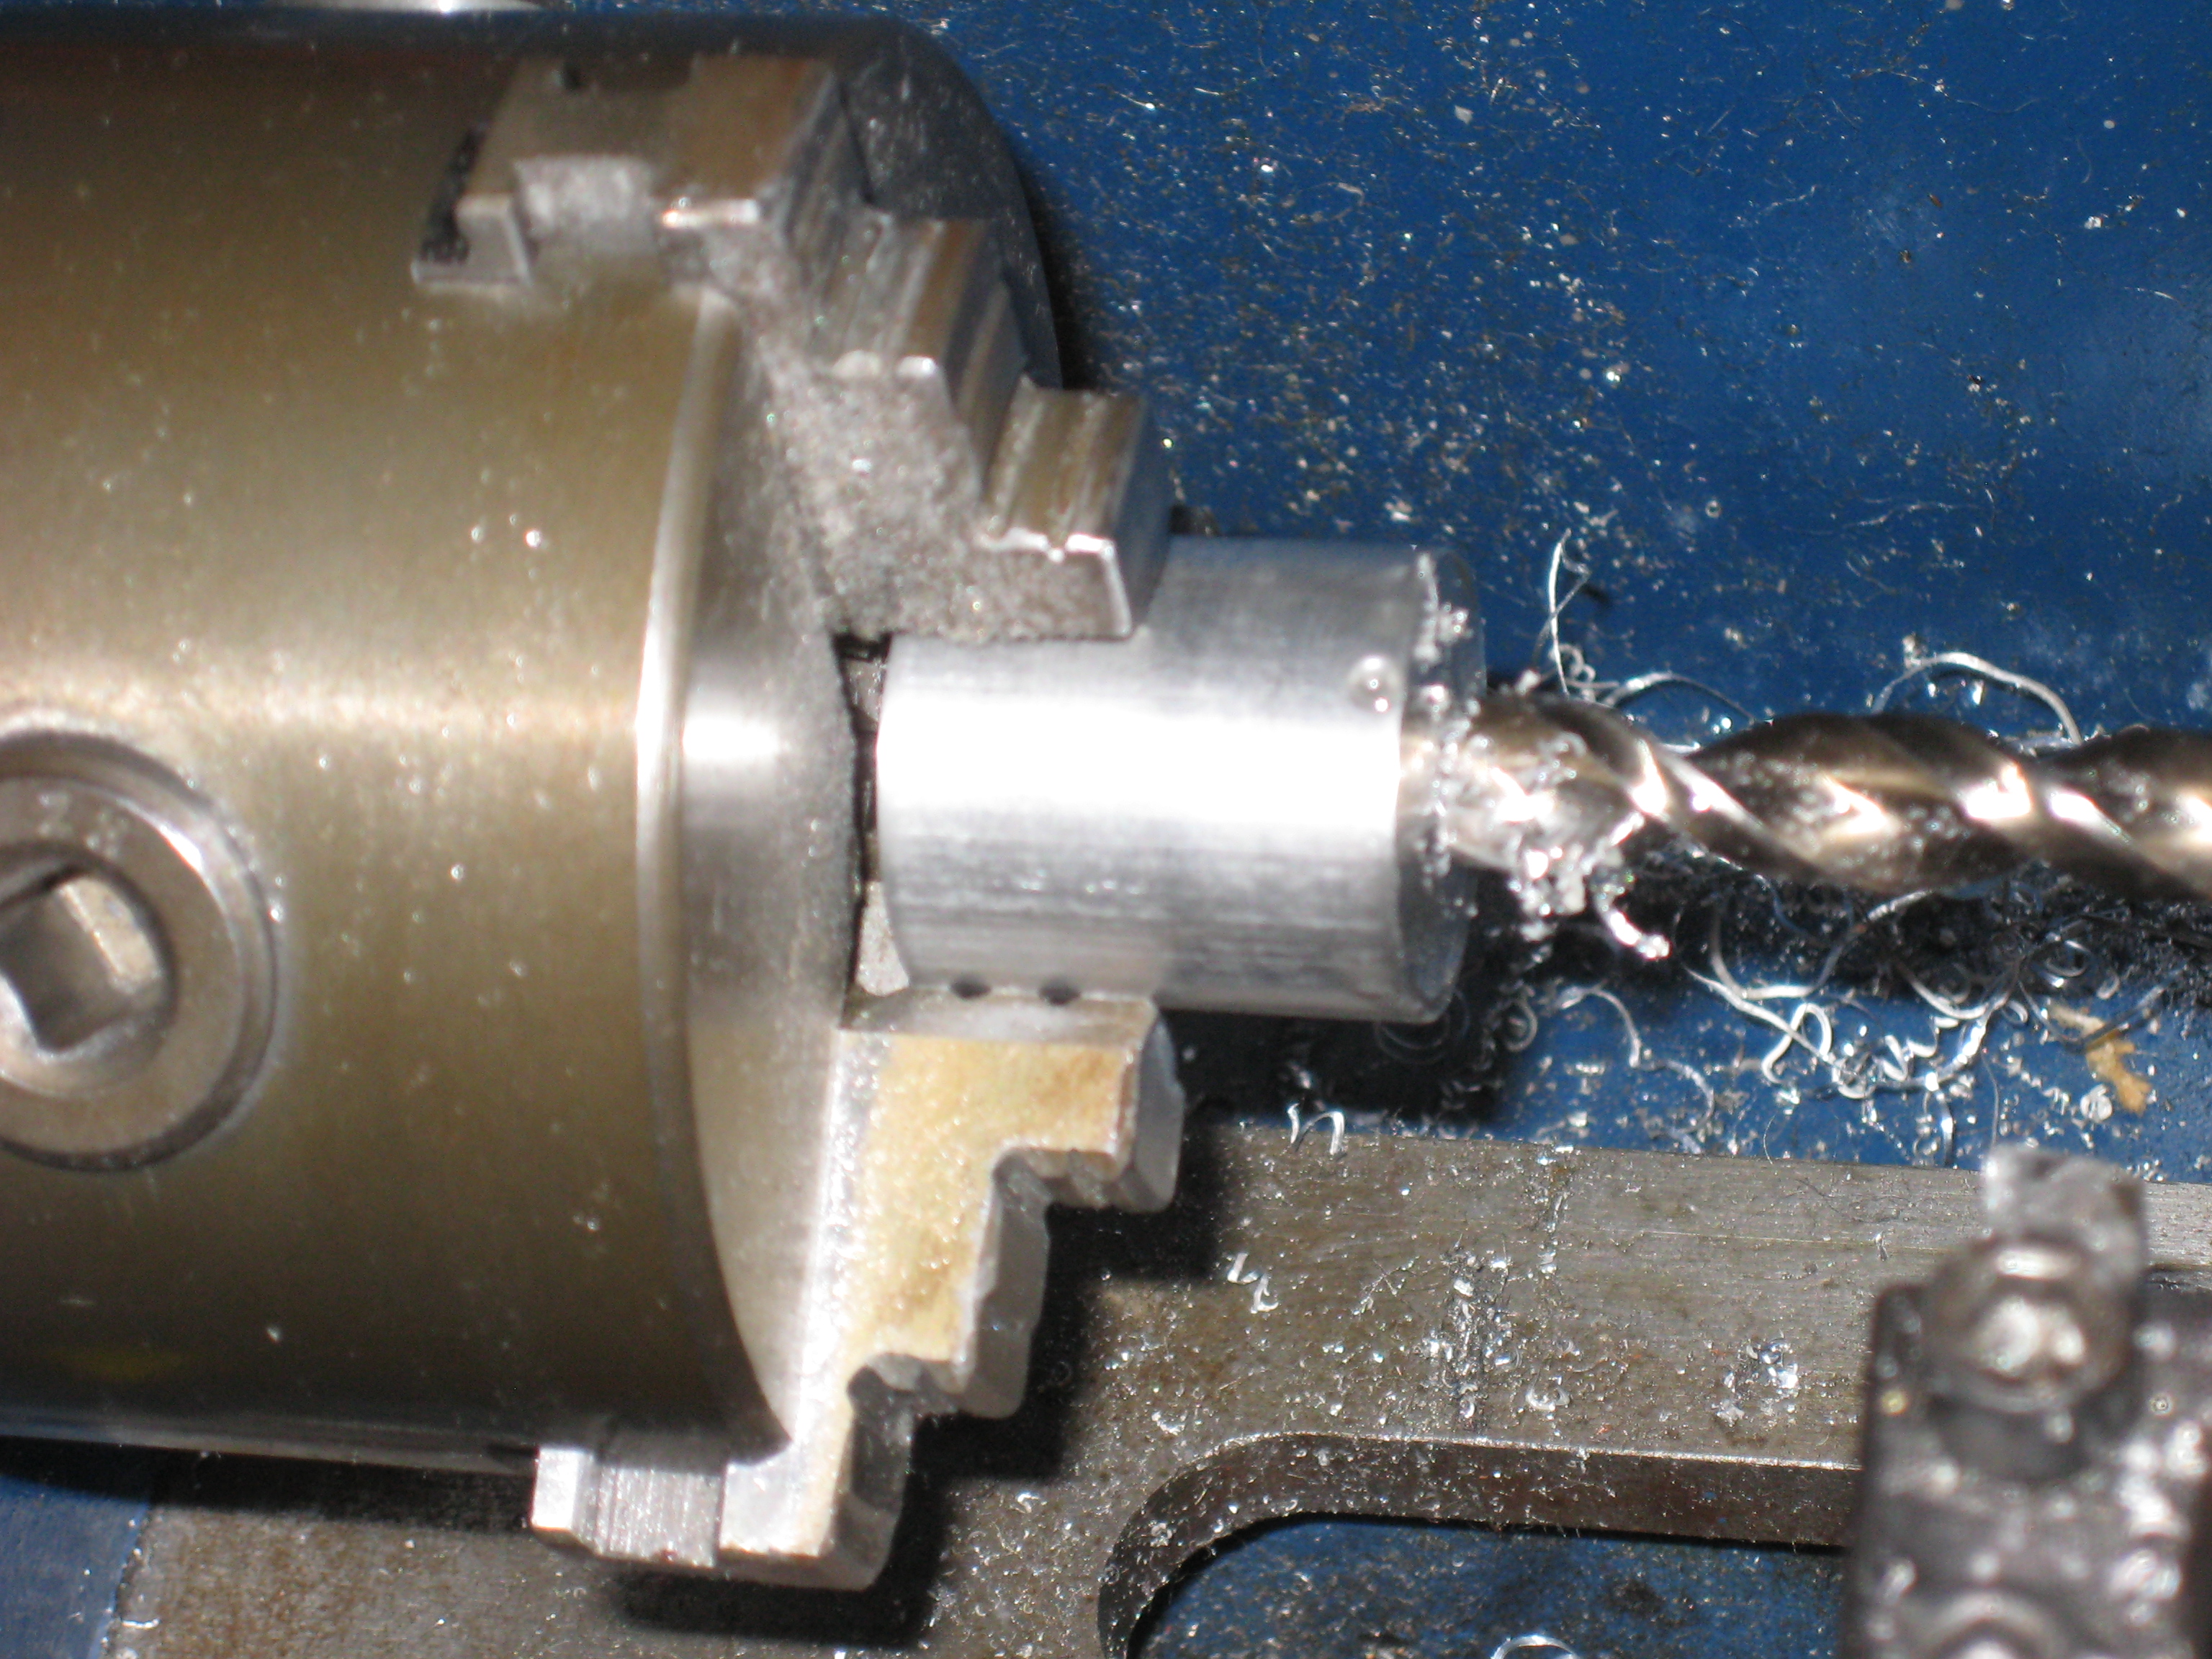
Now that the hole is drilled through the aluminum, it is time to hollow
it out to accept the graphite, this process is just called boring.
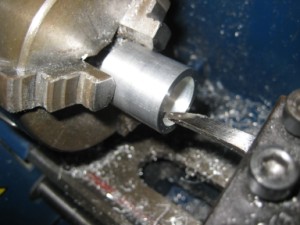
Yes, as you can see I do grind my own lathe bits. I find it much
cheaper to grind my own at $1 a piece, than buying pre-ground ones for
$5, and they seem to cut much better. I recommend buying the lathe
blanks from Enco or MSC, they have some good prices for 5/16" square
HSS blanks, and as long as you have a decent bench grinder, they are a
breeze to make. Enough about lathe bits, lets get to machining again.
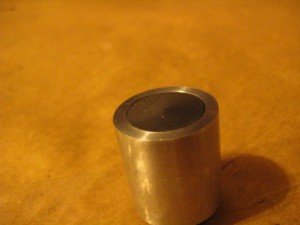
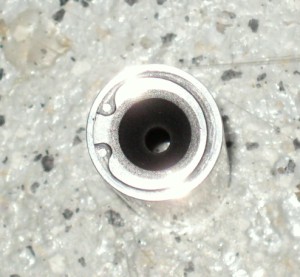
So now the aluminum has a 1" OD and a .75" ID, so lets stick in the
graphite.
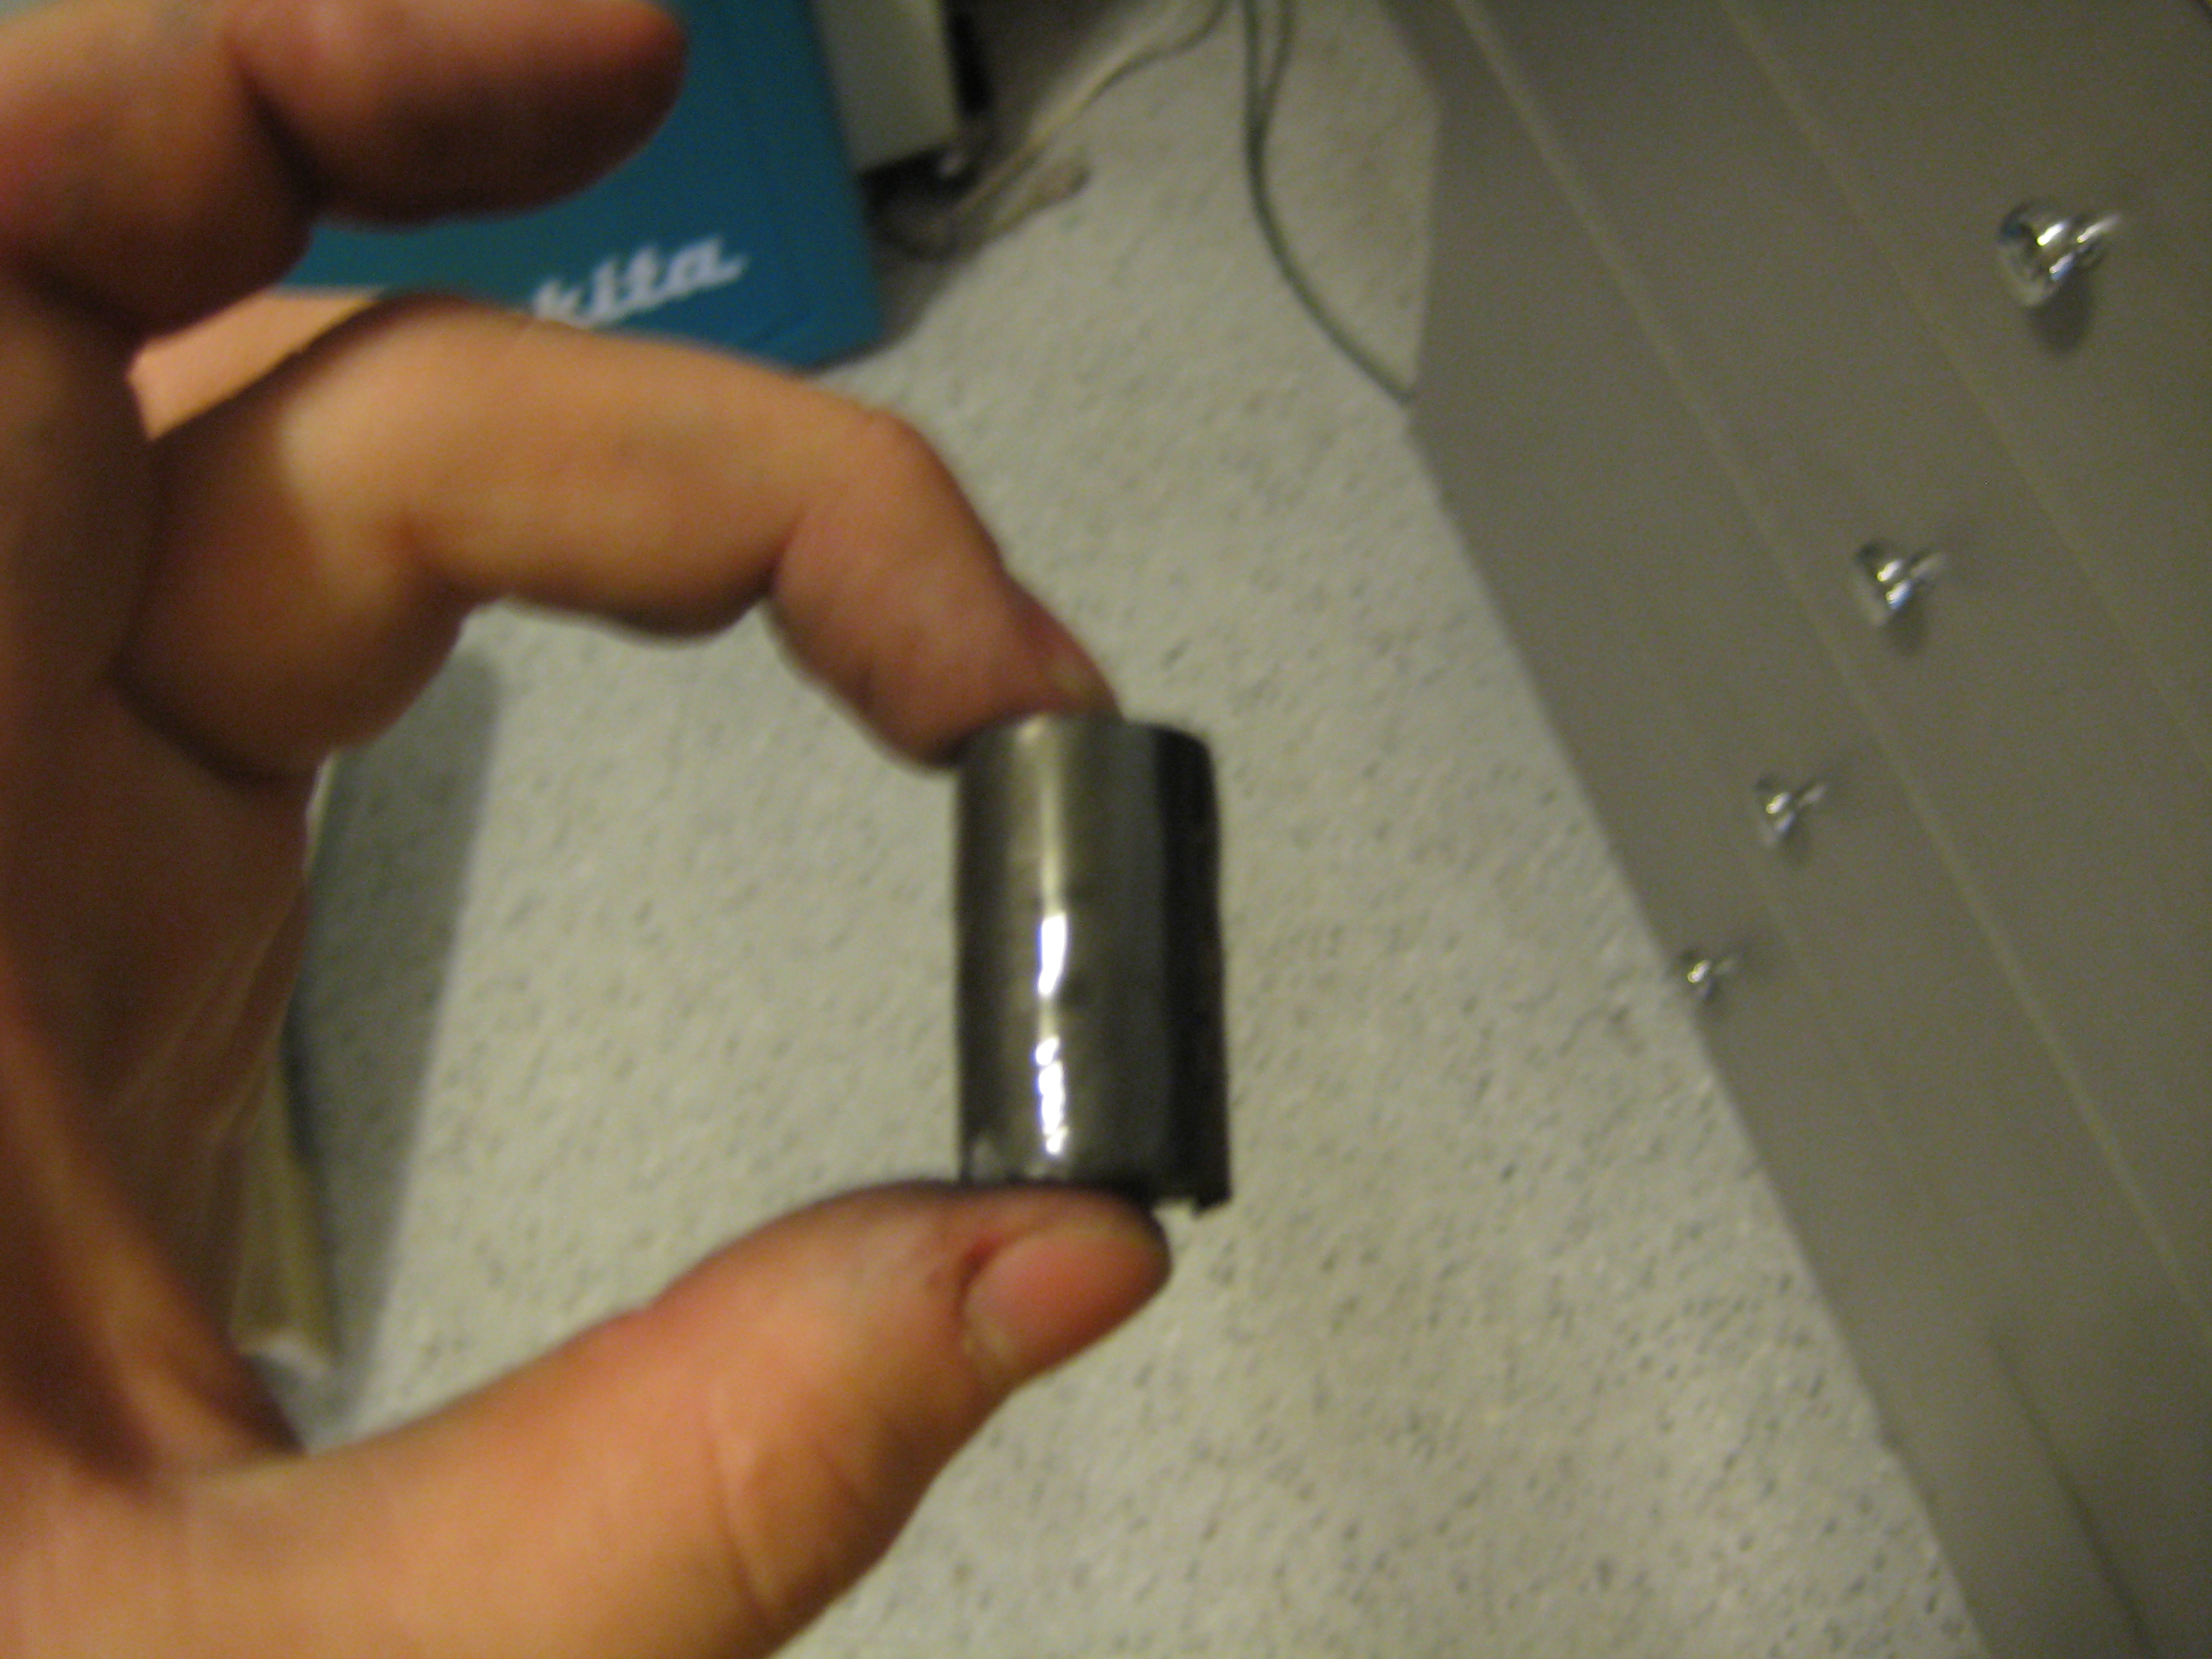
Above is the graphite, waiting to be malloted into the aluminum.
To make sure the graphite doesn't ever slip out from all the
pressure, this has to be a tight fit. Also, I add some high-temp glue
to aid in inserting the graphite and to make sure it is secure. Now I
let the glue cure before continuing work on the piece.
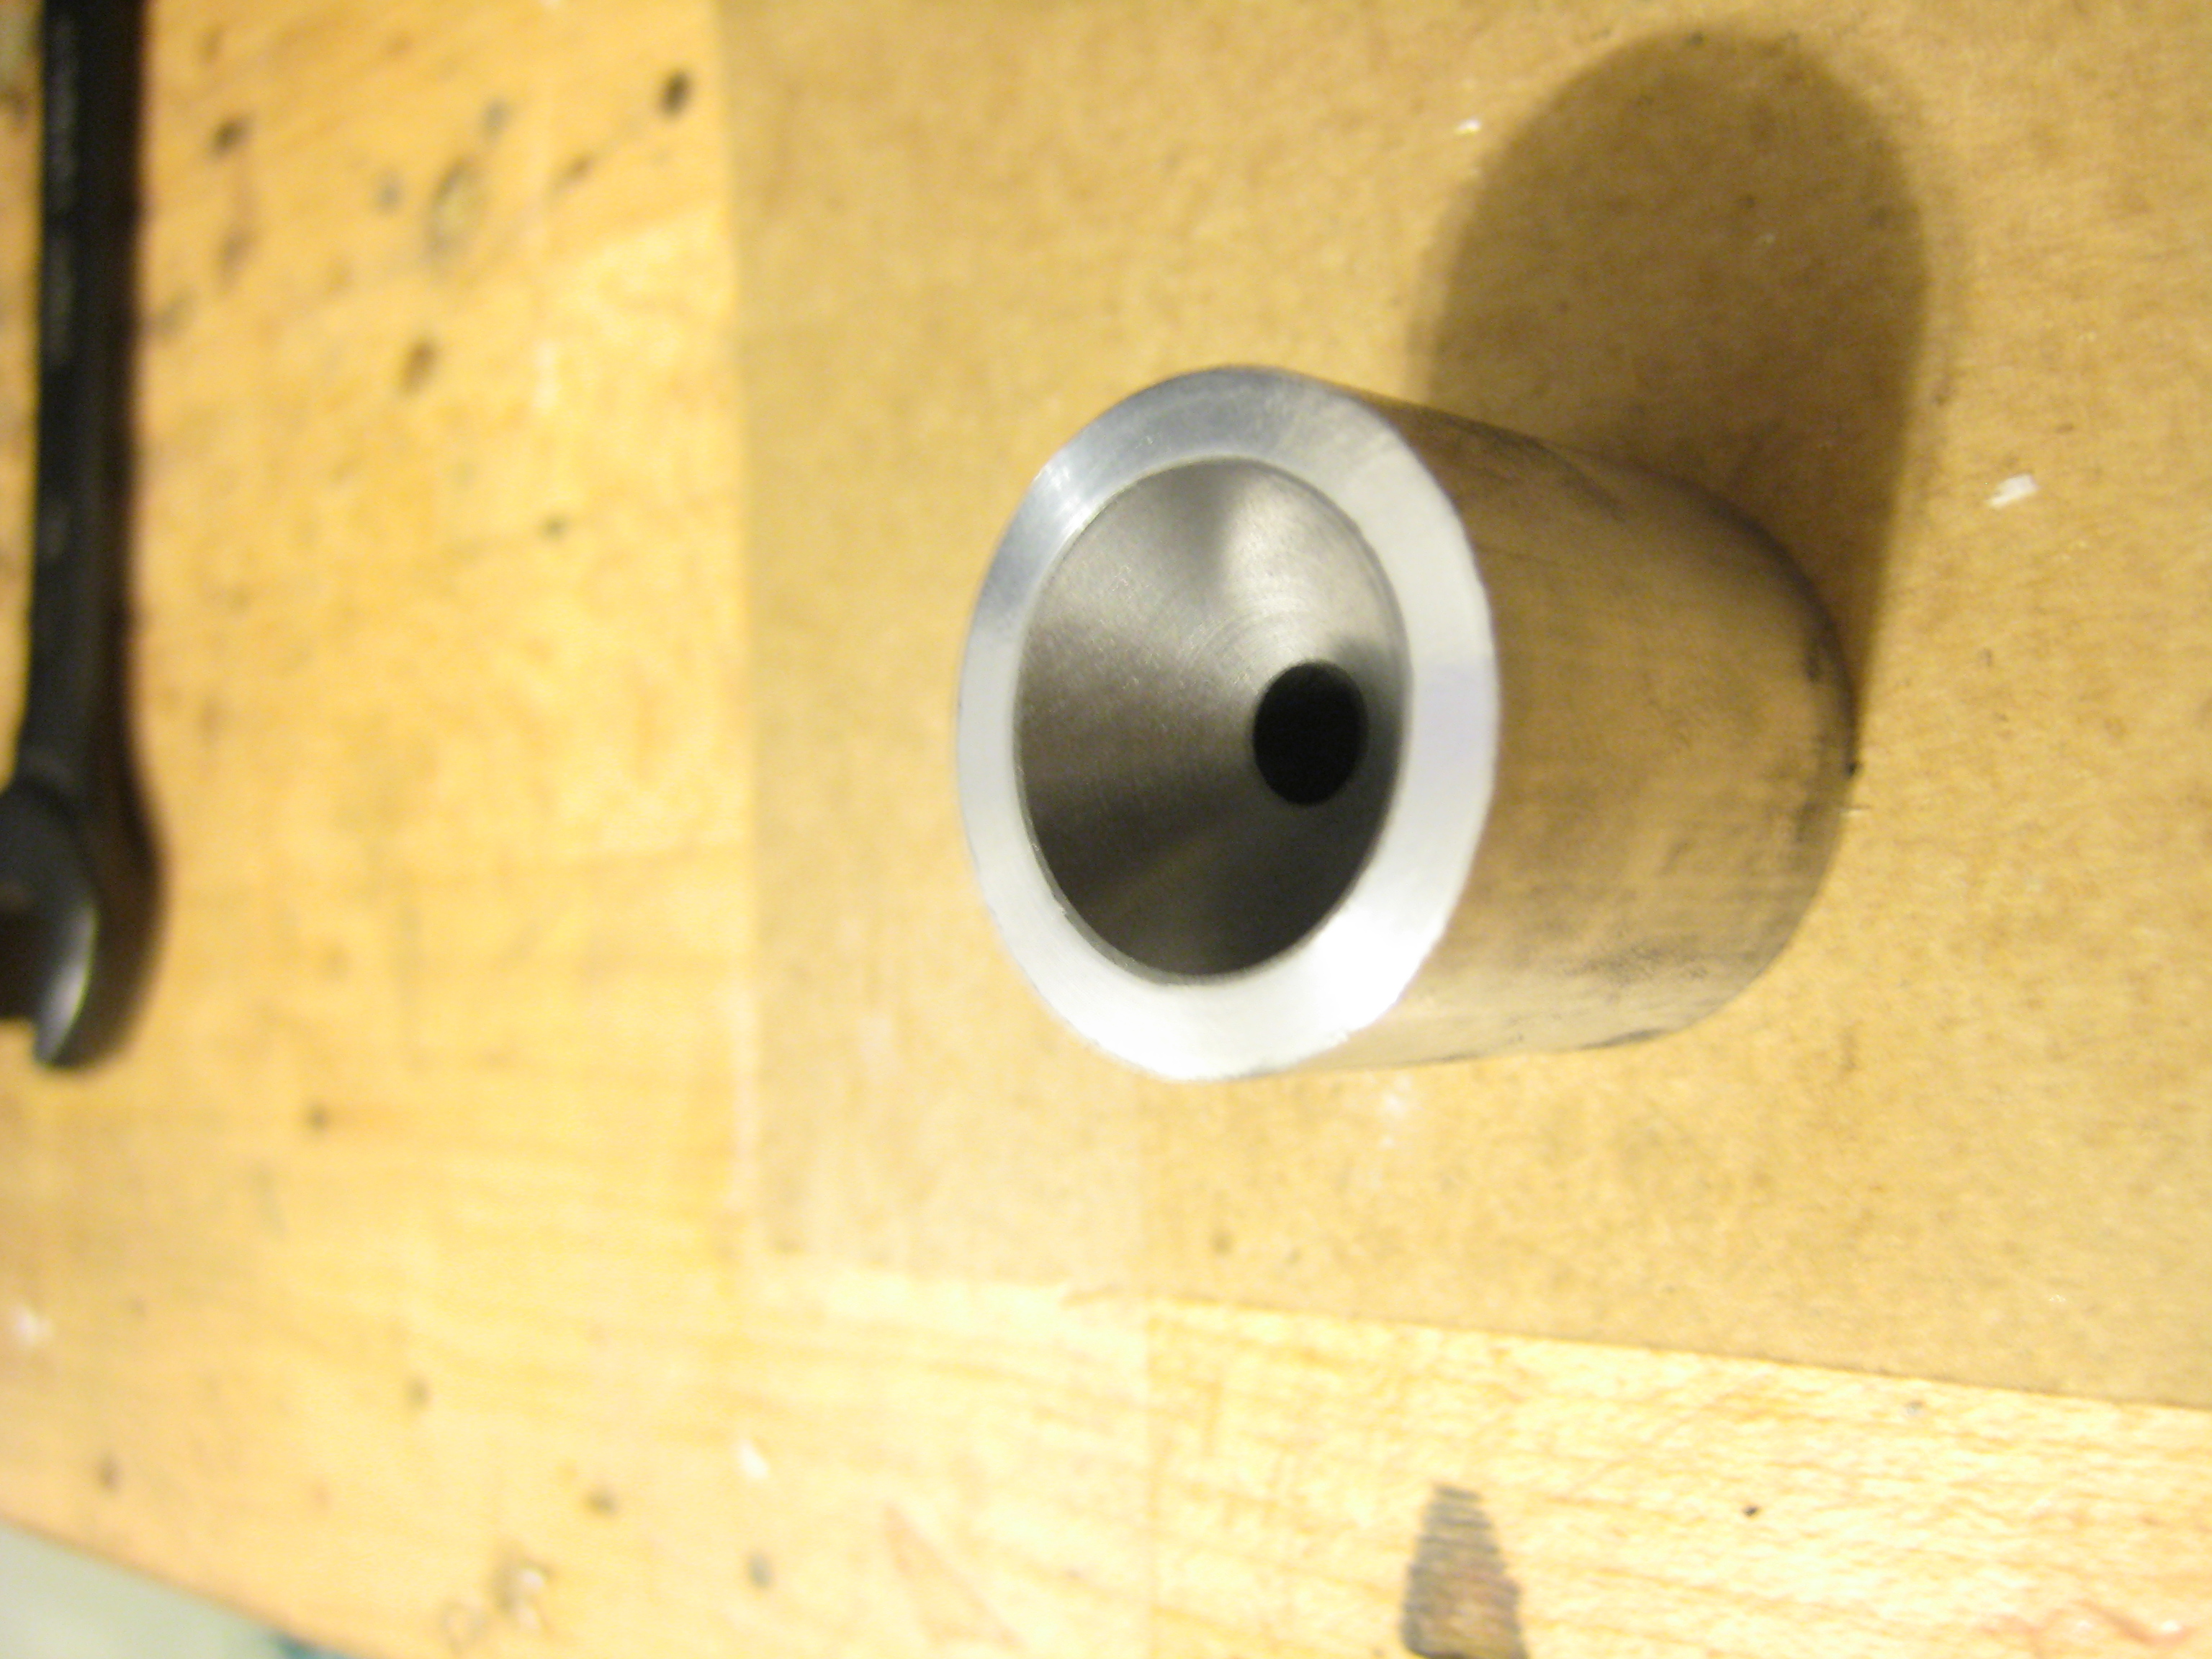
Now that the glue was cured, I just faced the piece to make the
graphite flush with the aluminum, and the drilled a hole in the center
(not shown). Now I will machine in the 45° convergent cone and
the
15° divergent cone.

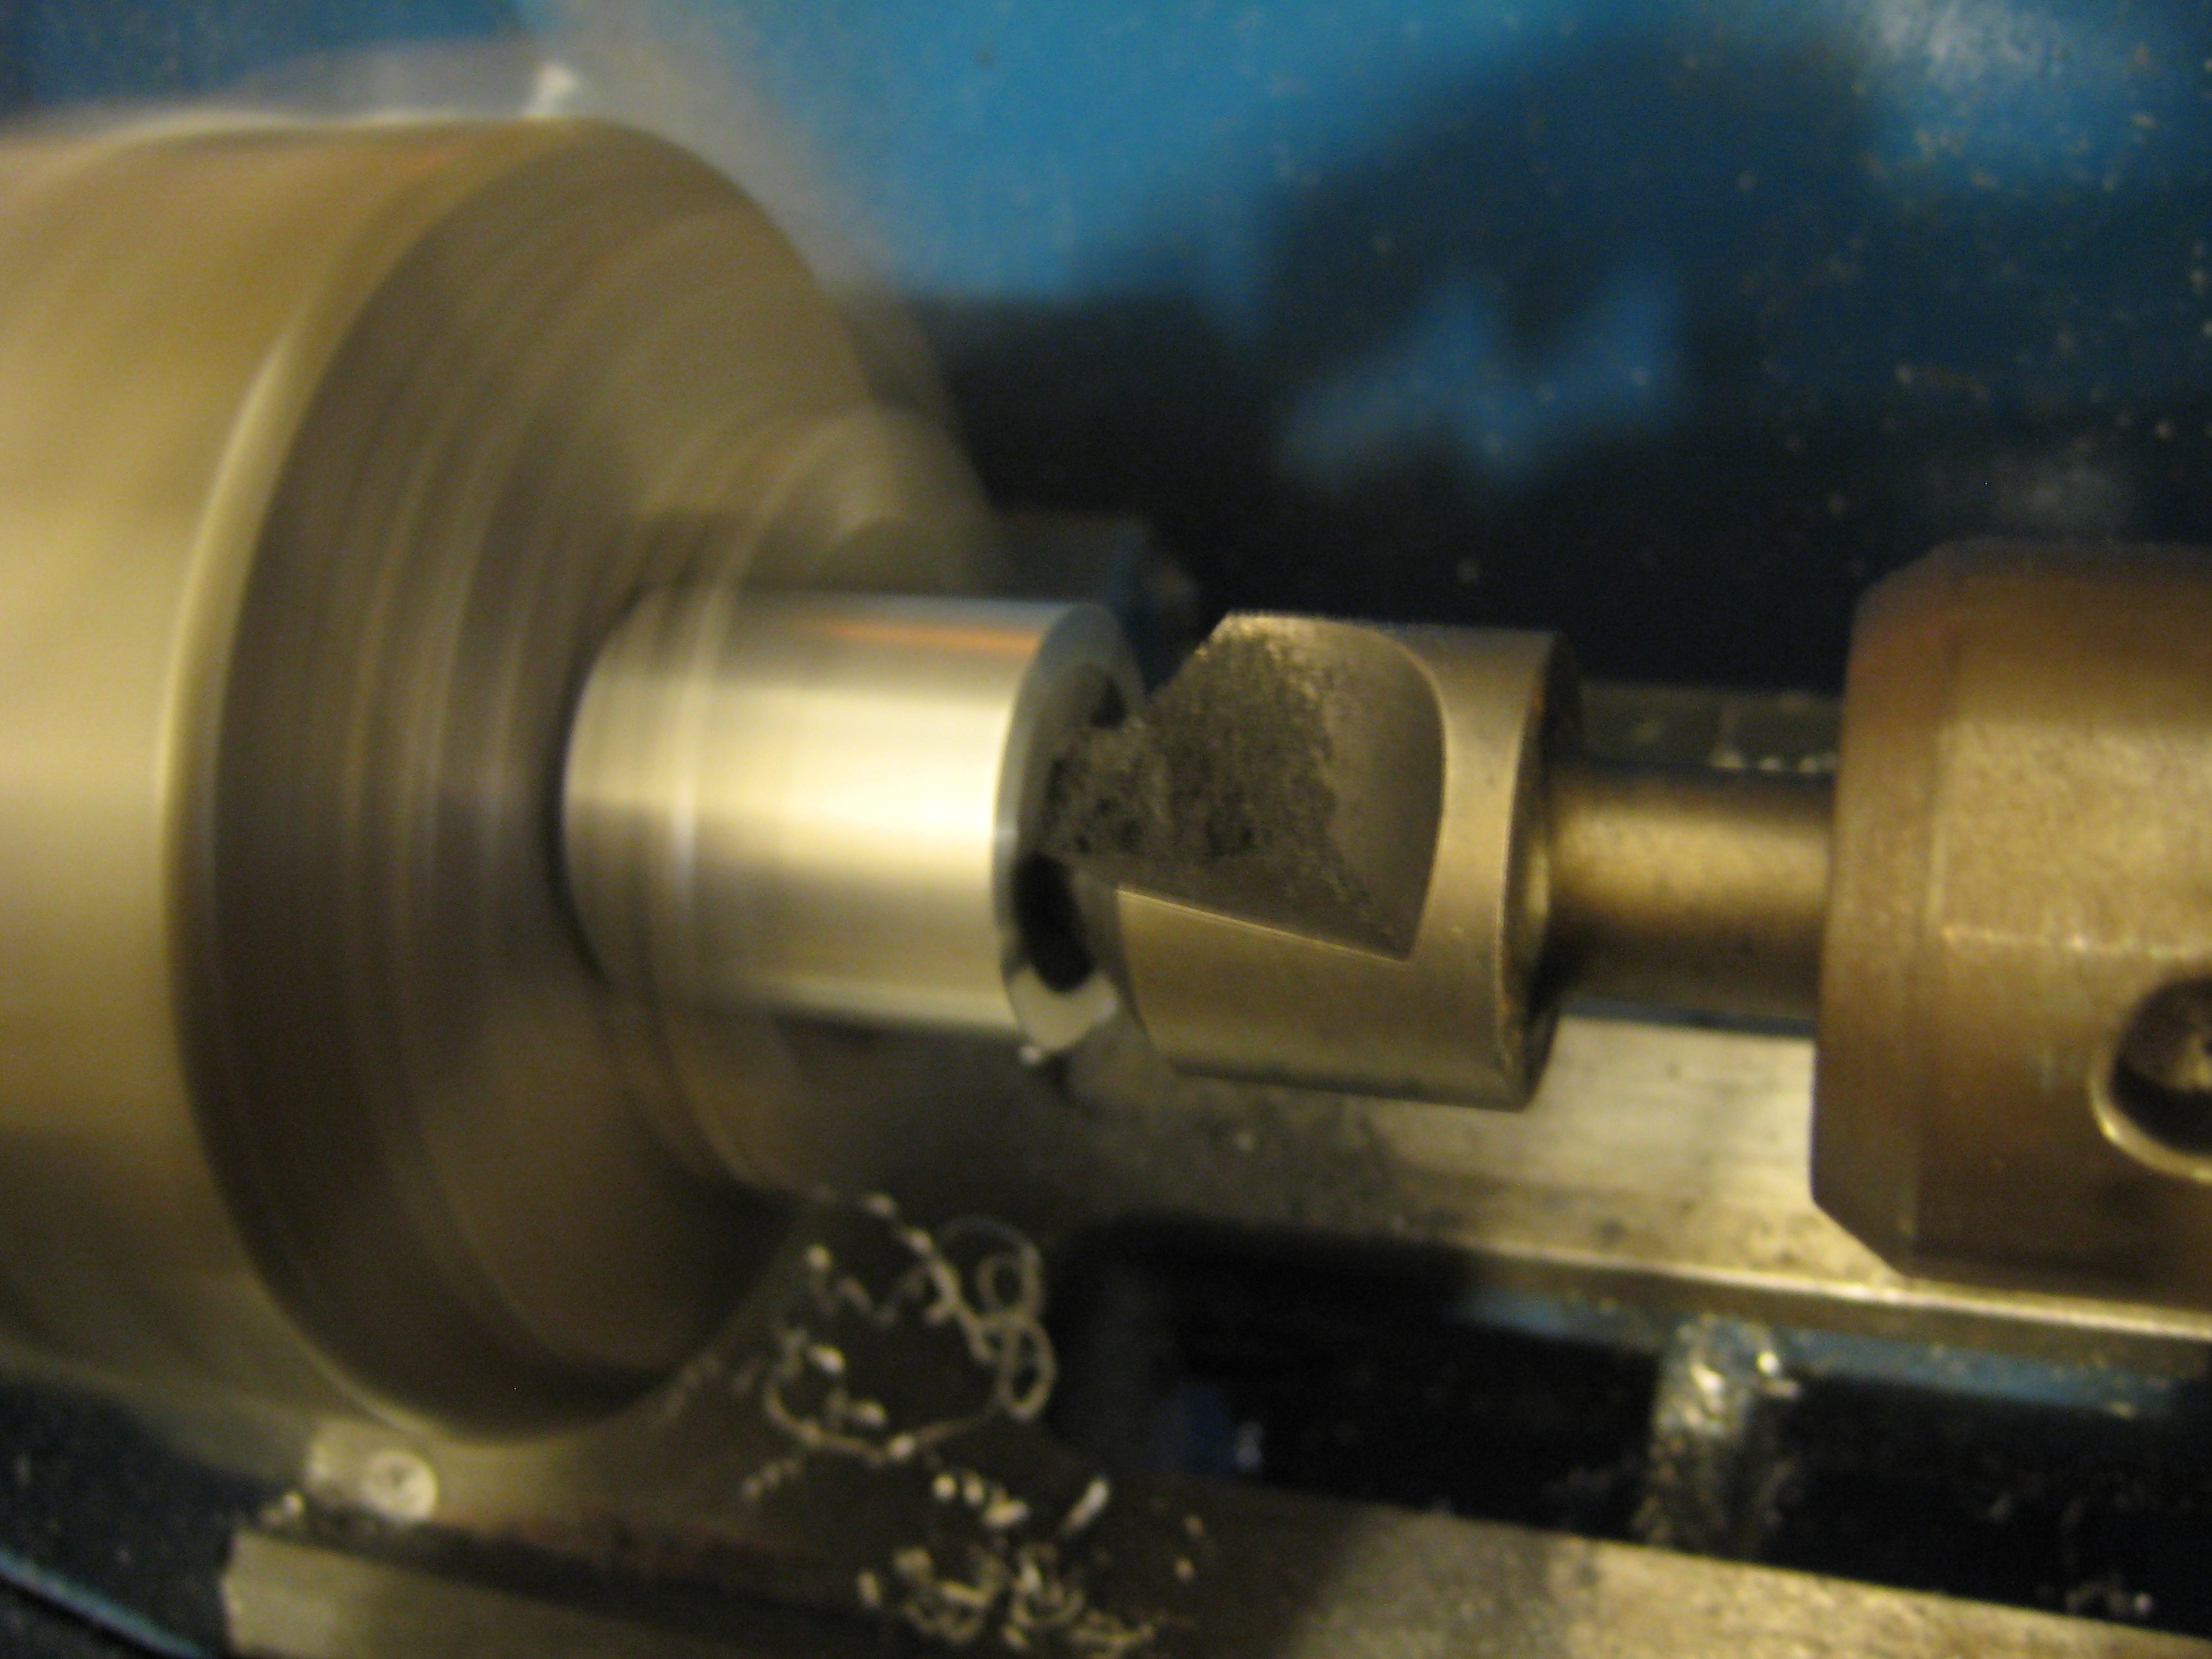
Above is the convergent cone being drilled in with a 90°
countersink. I bought this countersink off of eBay for something like
$3, and it makes the process much faster and easier, so it is
quite a worth investment. as for my 15° piece, its not so
majestic,
as you will see below.

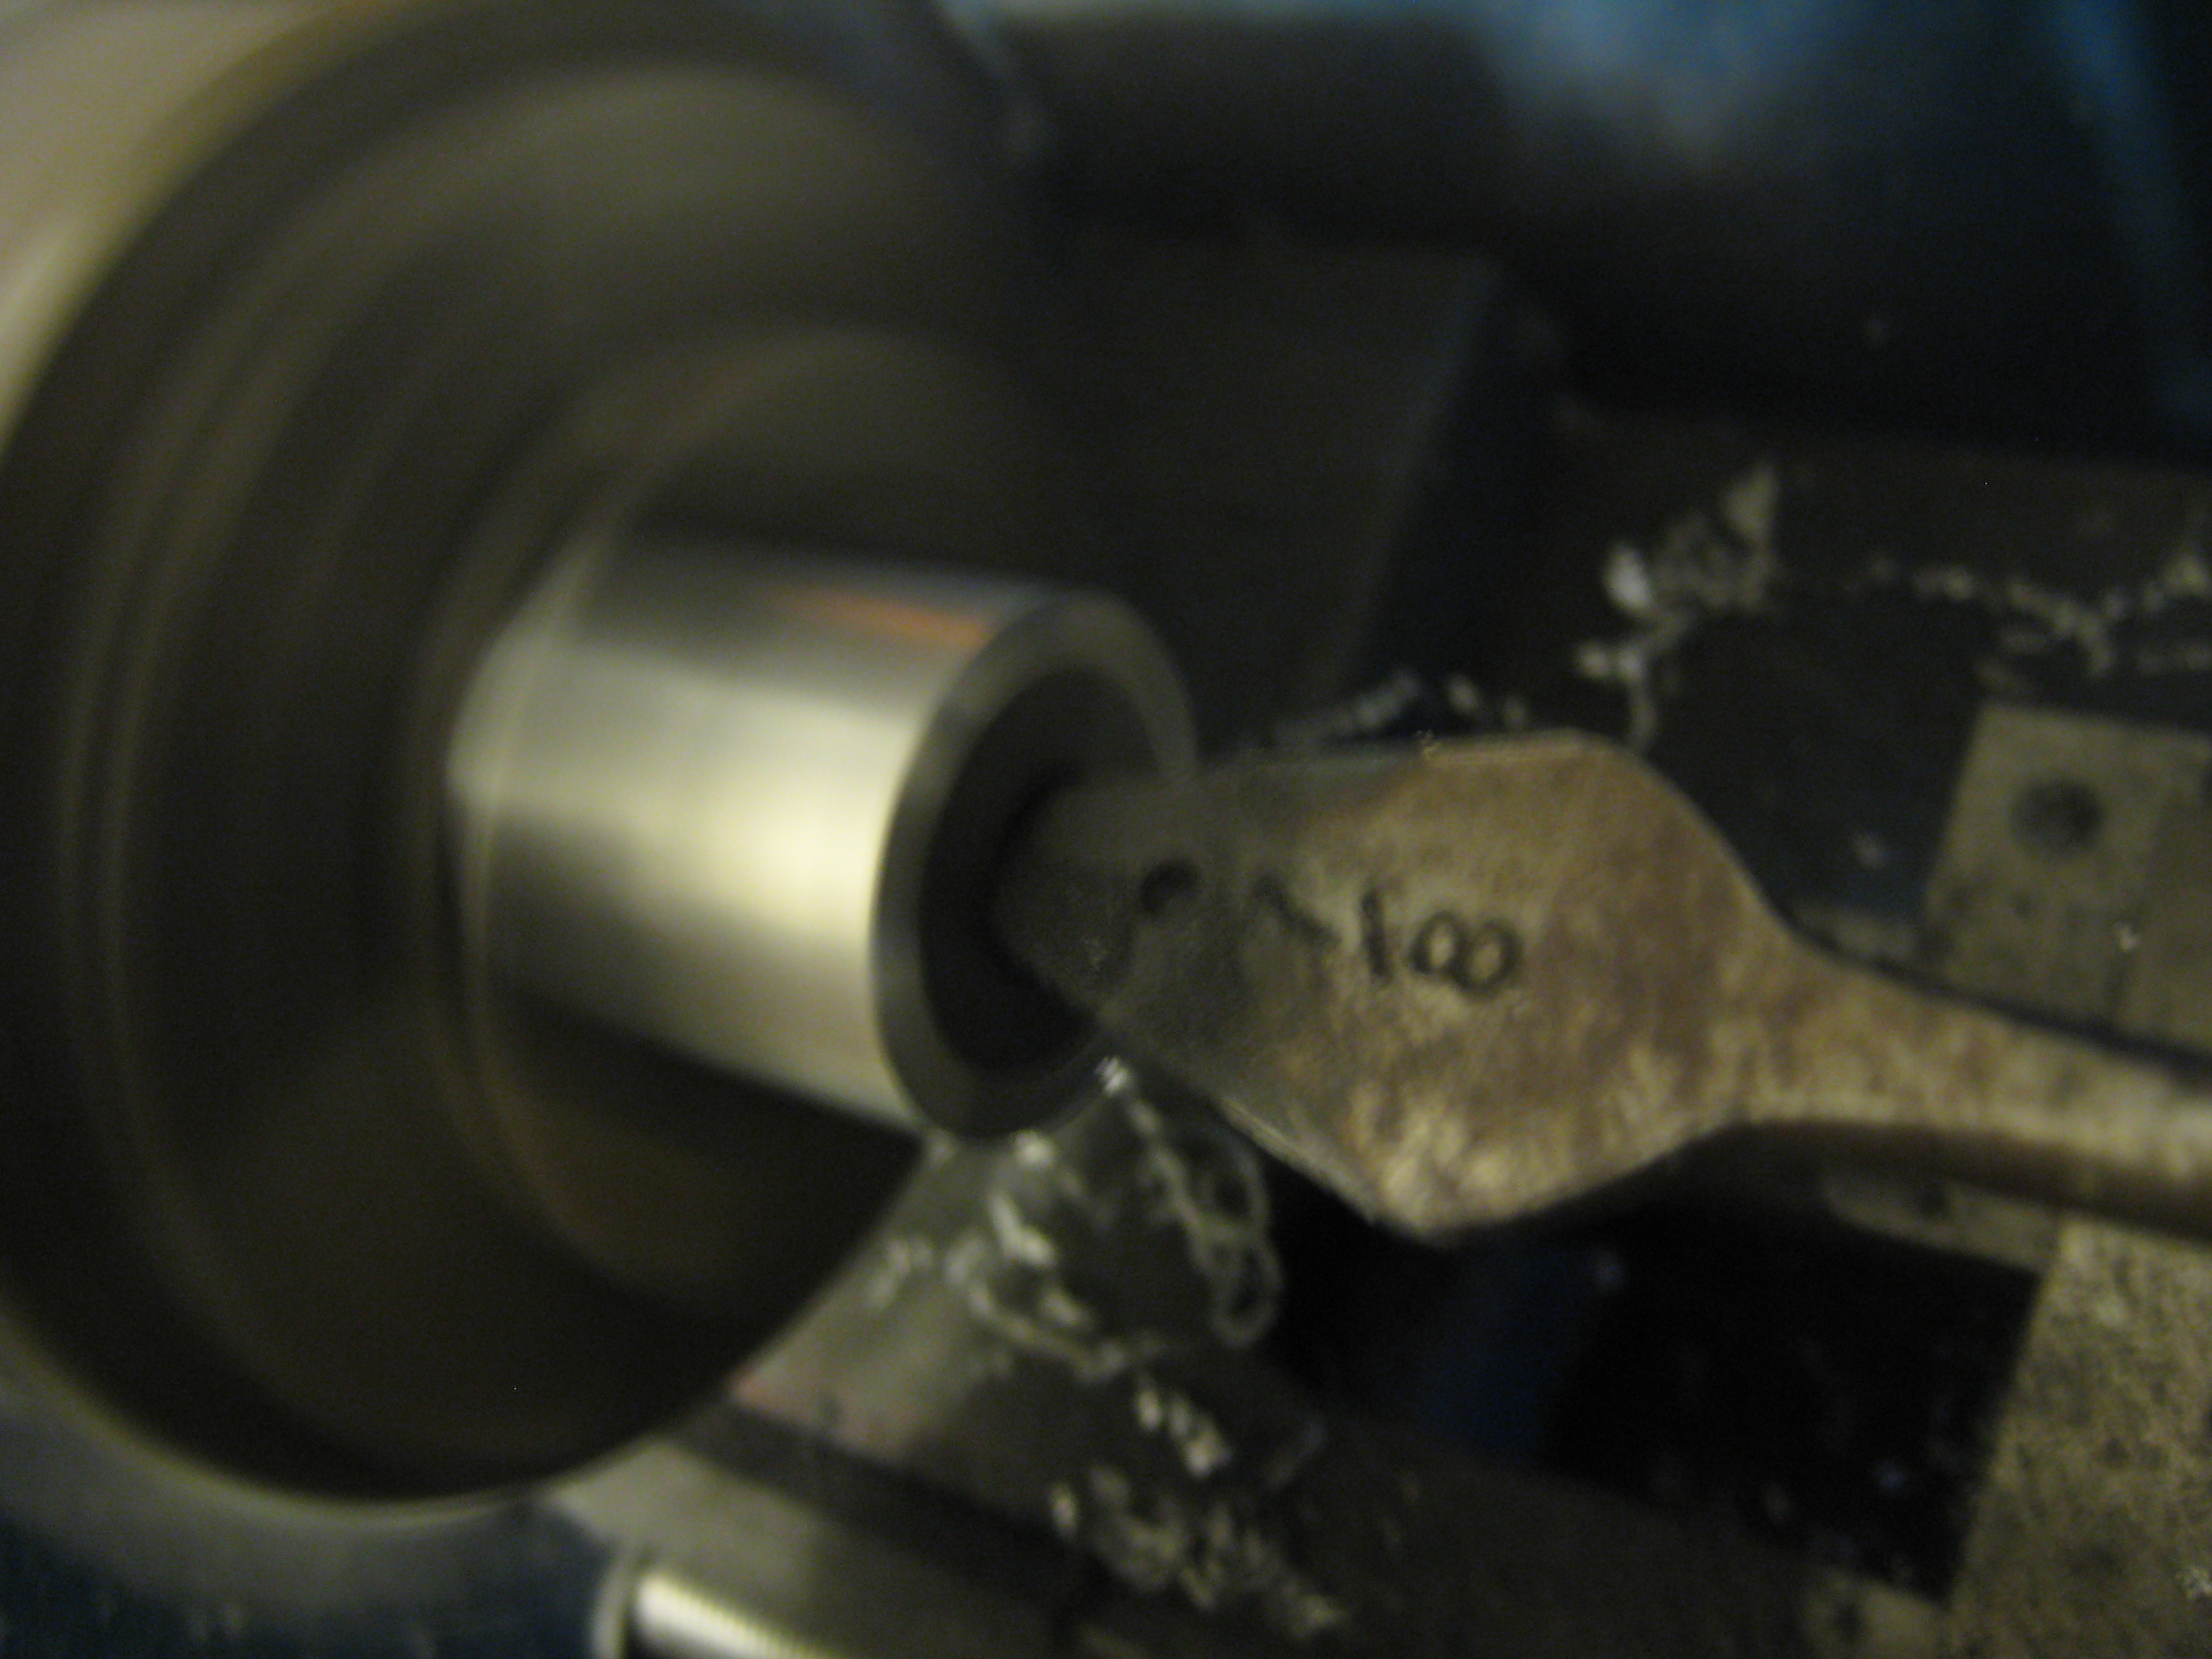
Yep, its just an old 7/8" auger bit that was cut to have a 15°
angle on both sides. Basically it is a ghetto rigged 30°
countersink. It does a nice job though.
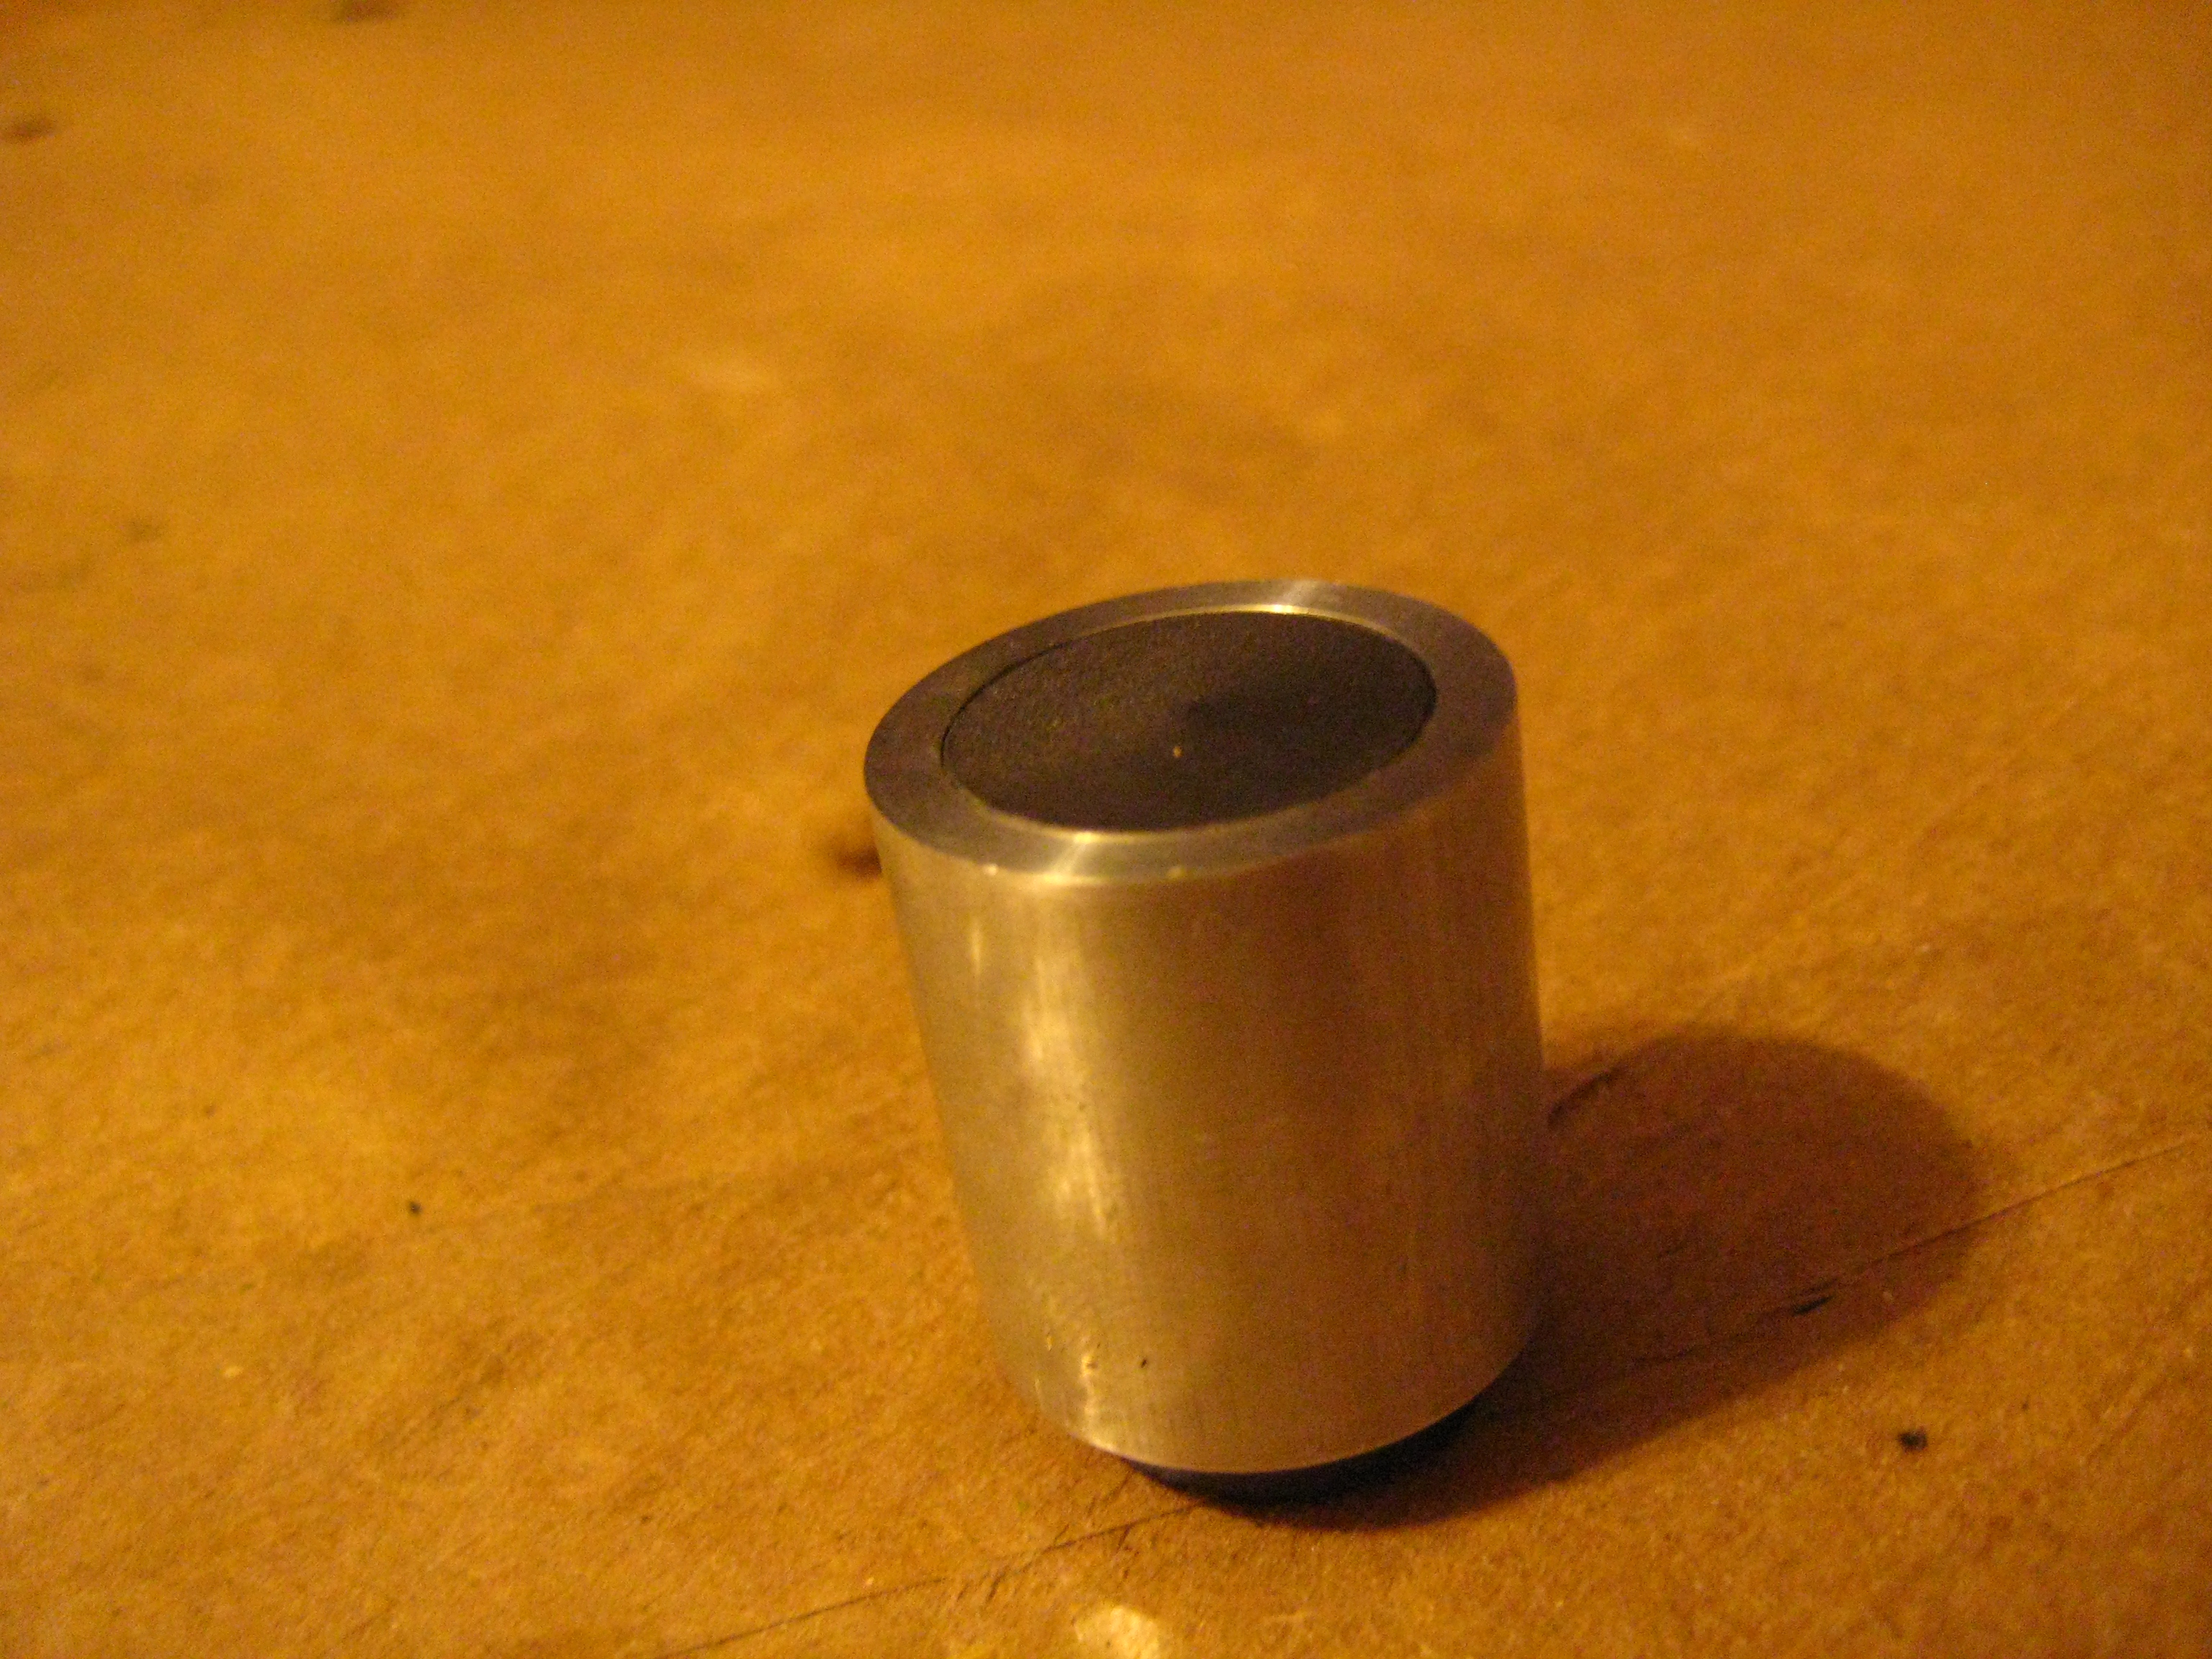
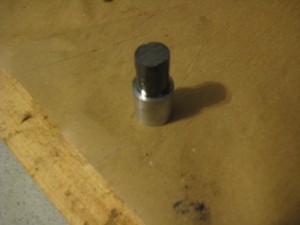
Finally the nozzle is done, and here is the final look at it.


And now here is a view of the nozzle it its new engine.
 Home
Home